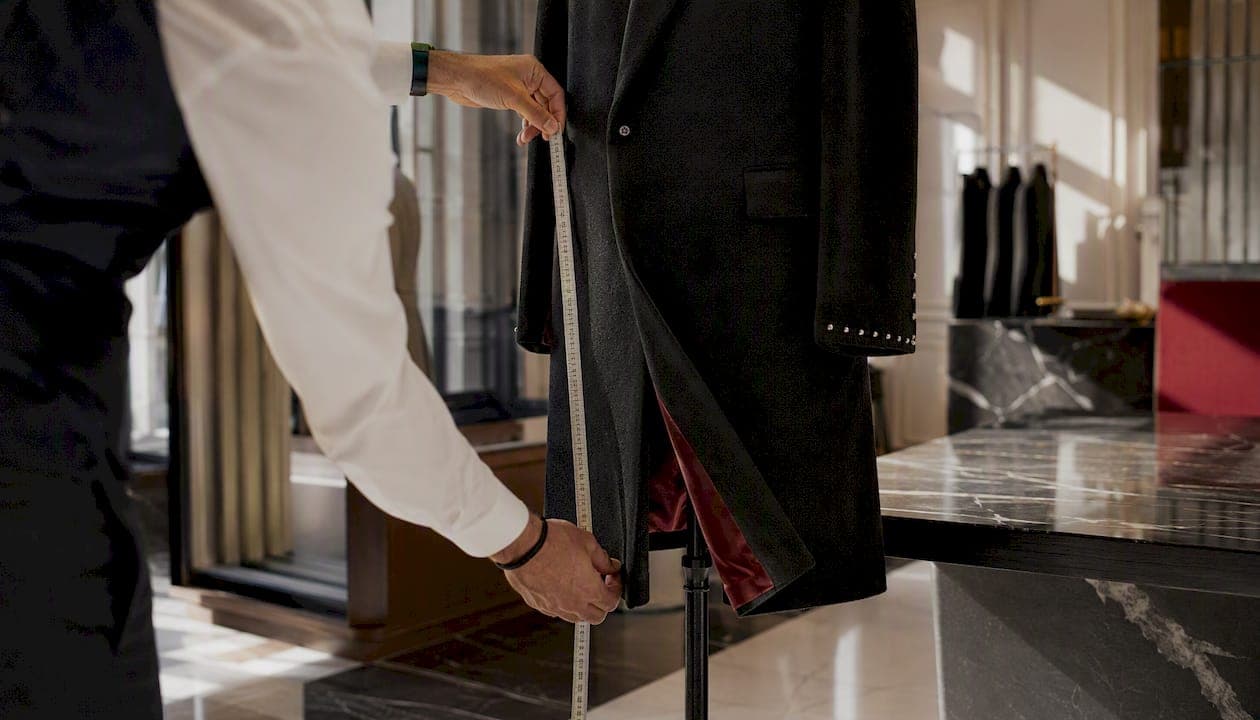
Nine measurements stand between you and a garment that fits as though it were built around your own frame, because it was. Neck, shoulder width, chest, waist, hip, sleeve length, bicep, inseam and back length form the minimum set every tailor needs before a pattern can be cut. Record them now, and you can send a complete brief to any atelier by this evening.
- Neck
- Shoulder width
- Chest
- Waist
- Hip
- Sleeve length
- Bicep
- Inseam or thigh
- Back length
Bespoke garments are never pulled from a shelf. Each one is constructed individually, which means you should expect a production window measured in several weeks from the moment your specification is confirmed to the moment the finished piece arrives.
Pro Tip: Measure every point twice, write down both figures, and use the average. Professional fitters go further and take a third reading whenever the first two disagree by more than half a centimetre.
Key takeaways
Accurate made-to-measure fitting depends on nine core measurements, taken twice each, recorded with photographs, and shared in a clear, structured format.
- Measure all nine core points: neck, shoulder width, chest, waist, hip, sleeve length, bicep, inseam and back length.
- Take each measurement twice and record both figures, averaging where they differ slightly.
- Photograph yourself front, back and three-quarter, in fitted clothing, matching the posture you held while measuring.
- Send your figures using a labelled table with notes on any asymmetry, alongside your photographs.
- When two readings disagree, choose the larger figure, and expect bespoke production to take several weeks.
- For complex garments or an unusual posture, book a professional fitting rather than relying on self-measurement alone.
| Point | Details |
|---|---|
| Nine core measurements | Neck, shoulder, chest, waist, hip, sleeve, bicep, inseam and back length form the minimum brief for a tailor. |
| Measure twice, average | Small differences can alter fit, so a repeat reading catches errors before cutting begins. |
| Choose the larger figure | A generous garment can be taken in; a tight one often cannot be safely enlarged. |
| Photographs complete the picture | Front, back and three-quarter shots let an atelier read posture and shoulder slope numbers cannot show. |
| Jeeyodee bespoke commissions | Maison Jeeyodee treats measurements as the start of a fitting dialogue, building commissioned pieces from precise figures and a deposit-based booking process. |
Table of Contents
- What to prepare before taking your measurements
- The essential measurement set: where the tape goes and how
- In what order should you take each measurement?
- Which extra measurements might a tailor request?
- Where measurement mistakes usually happen
- How should you present your measurements to a tailor?
- Why a measurement is only ever the starting point
- A note from Maison Jeeyodee on fit and craft
- If you would prefer a professional fitting
- Sources
- FAQ
What to prepare before taking your measurements
A tape measure bought for five euros will serve you as well as one bought for fifty, provided it is fabric, not metal, and marked in centimetres. What ruins a measuring session is rarely the tool. It is the setup around it.
Gather these before you start:
- A soft fabric tape measure marked in centimetres
- A full-length mirror
- Pen and paper, or a simple spreadsheet
- A thin, fitted base layer such as a t-shirt and briefs
- A second person, if one is available
Remove your shoes and belt, and strip back to close-fitting layers. Anything loose, from a jumper to a padded jacket, adds phantom centimetres that no tailor can account for. Stand in your natural stance, shoulders relaxed, and breathe normally rather than pulling your chest up or holding your stomach in. The tape should sit level around the body and rest snugly against the skin, never digging in and never left loose, as explained in this guide.
Some points genuinely need a second pair of hands. Shoulder width, sleeve length and back length depend on locating the shoulder point precisely, and that spot is very difficult to find on your own back. If nobody is available to help, a mirror and a little patience become your substitute, which we cover shortly.
The essential measurement set: where the tape goes and how
Every one of the nine figures below feeds directly into how a garment is cut. Shoulder width sets the sleeve pitch. Chest interacts with the ease built into a jacket. Get one wrong and the whole balance of the pattern shifts, so treat each instruction as a small discipline rather than a rough guess.
| Measurement | Where the tape sits | How to hold it | Breathing/posture | Typical use |
|---|---|---|---|---|
| Neck | Around the base of the neck, where a collar would sit | Level, two fingers of ease | Relaxed, neutral | Shirt |
| Shoulder width | Seam point to seam point across the back | Straight line, not curved | Arms relaxed at sides | Jacket, shirt |
| Chest | Fullest part of the chest, under the arms | Level, snug not tight | Relaxed exhale | Jacket, shirt |
| Waist (natural) | Narrowest point of the torso | Level, snug | Relaxed | Jacket |
| Waist (trouser) | Where trousers will actually sit | Level, snug | Relaxed | Trousers |
| Hip | Fullest part of the seat | Level, snug | Relaxed | Trousers, jacket |
| Sleeve length | Shoulder point to wrist bone, arm slightly bent | Follow the arm's natural bend | Relaxed | Jacket, shirt |
| Bicep | Fullest part of the upper arm | Level, snug | Arm relaxed | Jacket, shirt |
| Inseam/thigh | Crotch seam to ankle, or fullest part of the thigh | Straight down the inner leg | Standing naturally | Trousers |
| Back length | Base of collar to natural waist | Straight down the spine | Standing tall, relaxed | Jacket, coat |
A few of these deserve extra care. The chest and waist figures should be taken on a relaxed exhale, never with the ribcage puffed out to look impressive on paper. Wrist measurement, though not always listed as one of the core nine, matters for shirt cuffs and is worth noting alongside bicep if you are ordering a shirt as well as a jacket. Check left and right sides where the body is naturally asymmetric, which is nearly everyone: one shoulder often sits slightly higher, one arm slightly longer.
Photographs sharpen everything a number cannot. Front, back and three-quarter shots, taken in fitted clothing against a plain wall, let an atelier read posture and shoulder slope that a string of figures alone will always flatten.
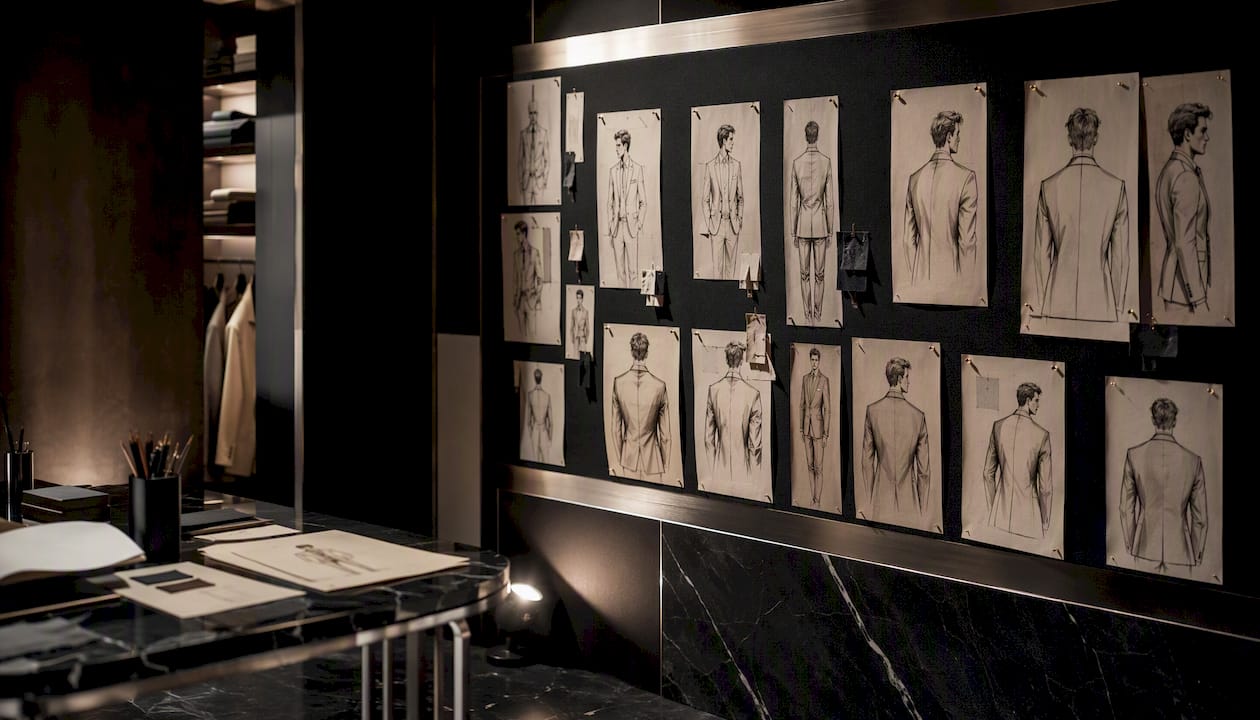
Pro Tip: Photograph yourself standing exactly as you stood while measuring. A slouched photo paired with an upright measurement confuses the very context you are trying to capture.
In what order should you take each measurement?
Working through the nine points in a sensible sequence saves you from constantly repositioning and losing your place halfway through.
- Check your posture in the mirror before you begin, standing naturally rather than at attention.
- Neck, since it takes seconds and settles your rhythm.
- Shoulder width, ideally with help.
- Chest, on a relaxed exhale.
- Waist, both natural and trouser position if you are ordering trousers.
- Hip.
- Sleeve length, arm slightly bent.
- Bicep, then wrist if needed.
- Inseam or thigh.
- Back length, last, since it benefits from a calm, settled stance.
Once you have all nine figures, a quick sanity check catches the obvious errors before they reach a tailor. If your chest measurement comes out smaller than your waist despite an athletic build, something has gone wrong, likely a loose tape or held breath. If your shoulder width looks unusually narrow next to your chest, re-check it with help rather than trusting a solo guess. Small contradictions like these are far easier to fix now than after a garment has been cut.
Pro Tip: Working alone? Use a full-length mirror and mark your key anchor points, the shoulder seam, the waistline, with a skin-safe marker or a small strip of tape. It lets you reproduce the exact same tape path on a second attempt, which matters more than most people expect.
Which extra measurements might a tailor request?
The nine-point set builds a first pattern. Certain garments and certain bodies need more than that to reach a genuinely personal fit.
- Rise (the distance from waistband to crotch seam), because it governs how a trouser sits on the hip and how comfortable it feels seated versus standing.
- Shoulder slope, the angle at which the shoulder falls from the neck, because it determines jacket balance and whether the collar sits flat against the neck.
- Front and back length separately, rather than one averaged figure, because a pronounced curve in the spine or a more prominent chest changes how much fabric each side needs.
- Seat depth, relevant for close-fitting trousers or when a client has a fuller seat than the standard block assumes.
A simple shirt rarely needs shoulder slope data. A tailored jacket almost always benefits from it. Complex coats, with their structured shoulders and longer proportions, are where an atelier is most likely to ask for the fuller set. Report any left/right asymmetry you noticed while measuring, since a shoulder slope difference of even a centimetre changes how a jacket collar sits.
Where measurement mistakes usually happen
Most fit problems trace back to one of a handful of repeatable errors, not to some mysterious flaw in the body being measured.
- Tape not level. A tape that dips or twists adds false length or width, and the error compounds across every measurement taken the same way.
- Holding your breath. A held or puffed chest inflates the figure, and the finished jacket will pull at the button stance the moment you relax.
- Measuring over loose clothing. A jumper or a padded shirt can add several centimetres you never actually have.
- Inconsistent tape tension. Snug one moment and loose the next produces numbers that cannot be trusted against each other.
- A single reading, no repeat. One pass leaves you with no way to know whether the number was accurate or a fluke.
Each of these has a direct, visible consequence. A chest measured too tight against the body produces a jacket that strains the moment it is buttoned. A waist measured too loosely produces trousers that need a belt cinched to the last hole. The safer rule when two readings disagree is to choose the larger figure, since a generous garment can be taken in, but a tight one cannot be safely let out.
Pro Tip: If in doubt between two numbers, always send the larger one. Alteration can remove excess fabric; it cannot conjure fabric that was never cut.
How should you present your measurements to a tailor?
A number without structure is easy to misread. Present your figures in a table, with clear units and a note on reliability, and an atelier can move straight to pattern work rather than writing back with clarification questions.
Attach photographs alongside the table: front, back, a three-quarter angle, and close-ups of the shoulders and waistline, each labelled with your name and the date. This turns a flat spreadsheet into something an atelier can actually interpret.
Once your figures and photographs arrive, expect the process to unfold over several weeks rather than days. A first pattern is cut from your numbers, a fitting confirms or adjusts it, and only then does construction proceed to completion. This is normal, not a delay to worry about. It is how a garment built for one body, and no other, comes to exist.
Why a measurement is only ever the starting point
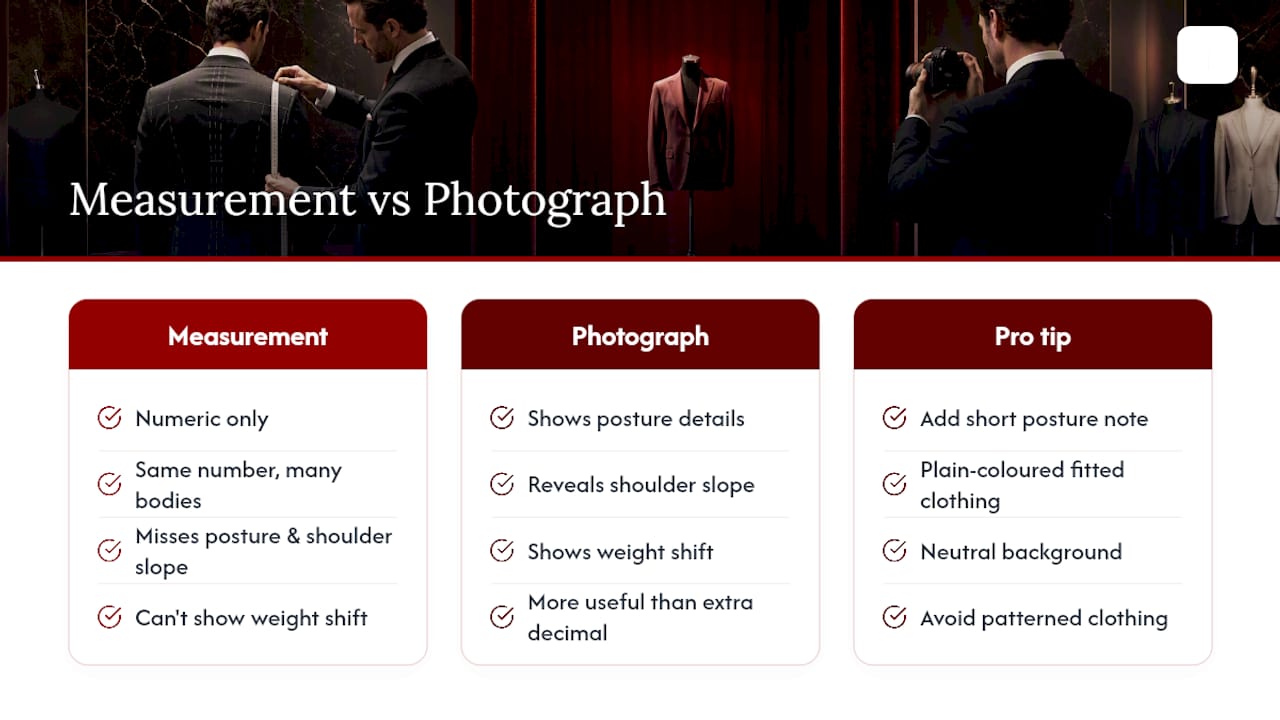
A number on its own tells an atelier very little. Ninety-eight centimetres of chest could describe a dozen different bodies, each carrying that circumference differently depending on posture, shoulder slope and how a person naturally stands. Elite ateliers treat the fitting less as data collection and more as a dialogue, where the measurements open a conversation about ease, structure and the client's own preferences, rather than closing it.
This is precisely why a photograph does more work than an extra decimal point. A forward head, a slightly higher left shoulder, a habit of standing with weight on one leg: none of this shows up in a tape measurement, yet all of it changes how a jacket should be balanced across the back.
Pro Tip: Add a short posture note alongside your numbers, something as simple as "forward head, left shoulder slightly higher." One sentence like that can save an atelier a wasted first fitting.
For photographs, plain-coloured, fitted clothing against a neutral background gives the clearest read. Avoid patterns that obscure the body's outline, and take the three-quarter shot at a genuine forty-five degrees rather than nearly front-on, since that angle is what best reveals shoulder slope.
A note from Maison Jeeyodee on fit and craft
At Jeeyodee, a measurement is never treated as a shortcut to a garment. It is the beginning of a conversation between what your body is and what the piece must become. When we take a commission, we ask not only for numbers but for context: how you stand, how you like a garment to sit against the skin, what ease you expect across the shoulder. Precision matters enormously to us, but precision without dialogue produces only a correctly sized object, never a garment with character.
Every commissioned piece leaving our atelier is built from measurements interpreted through the same discipline we bring to our numbered drops, where heavyweight cotton meets a deep red silk interior and Italian cone studs are aligned by hand rather than by machine. A bespoke commission at Jeeyodee is not a transaction completed at checkout. It is a collaboration, conducted with the same conviction we hold for materials sourced with respect for their origin. Read more on our approach to bespoke fashion and how it shapes what leaves our atelier.
If you would prefer a professional fitting
Self-measurement takes you far, but there is a point where a set of numbers, however carefully taken, cannot replace the eye of someone standing in the room with you. A professional fitting at Jeeyodee begins with exactly the measurements this guide has walked you through, then builds on them through a private consultation on materials, silhouette and the finishing details that define a commissioned piece.
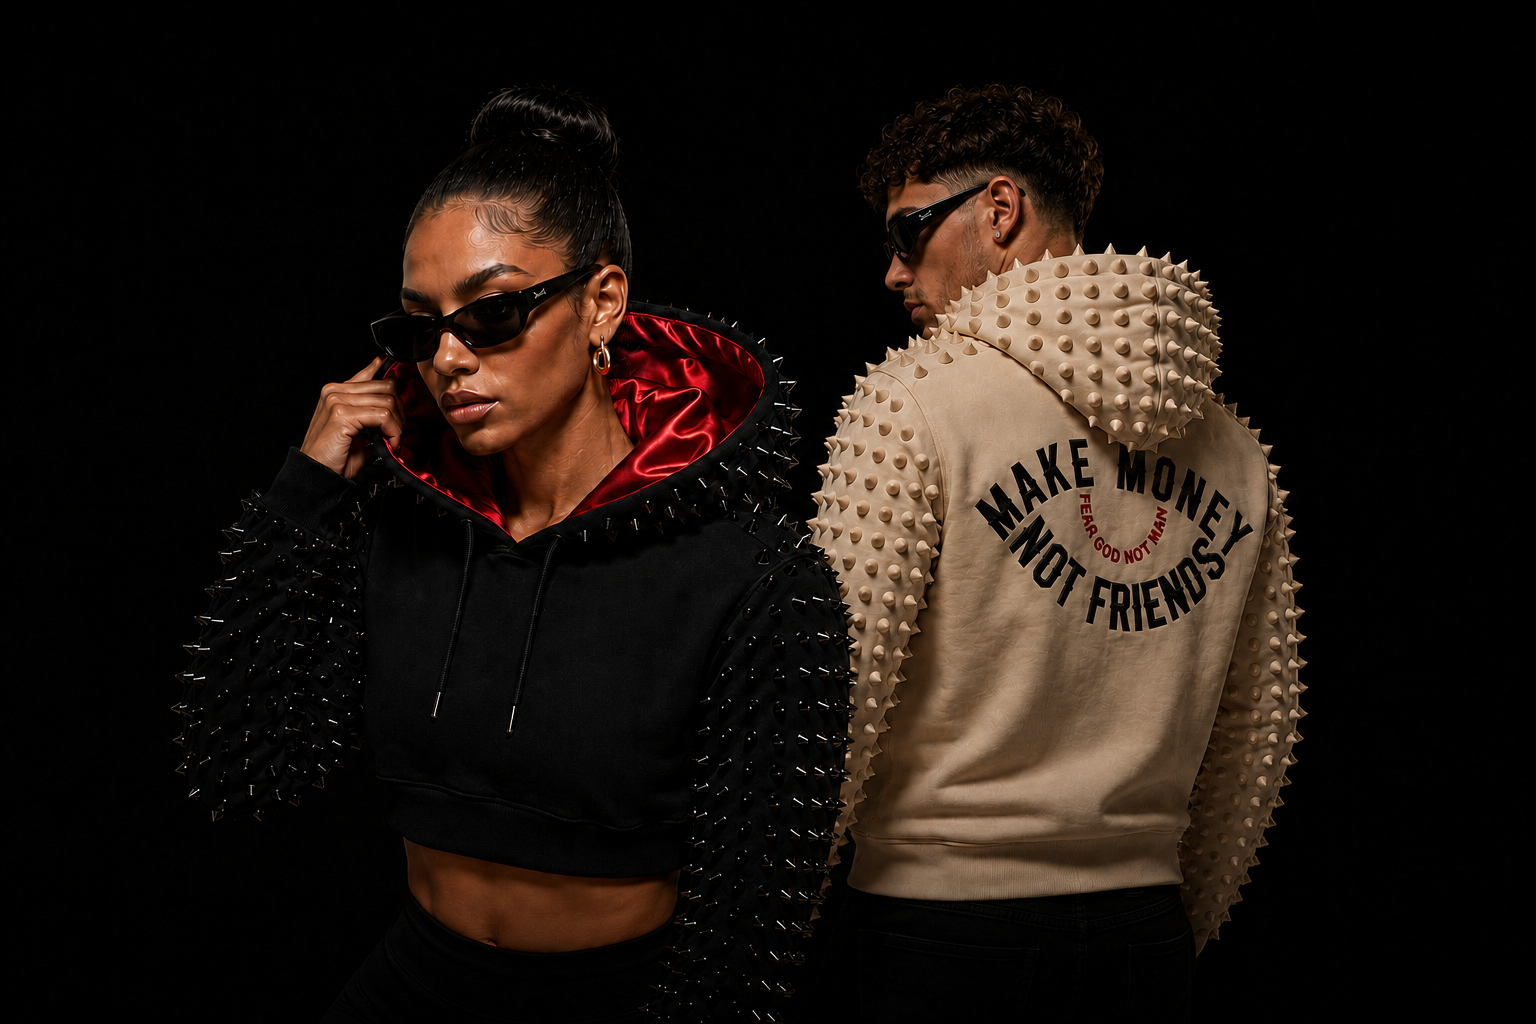
An atelier commission with Jeeyodee includes a full measurement session, a conversation about style and construction choices, and guidance on materials such as our Egyptian silk linings and hand-aligned Italian cone studs. If you are ready to move beyond self-measurement towards a garment made once, numbered, and never repeated, visit the Jeeyodee store to begin a bespoke enquiry.
Sources
A handful of pages go deeper into specific parts of this process, worth a look if you are commissioning multiple pieces or want to understand atelier practice in more detail.
- Prendere le misure sartoriali — Tessuti e Tendaggi Panini
- Come misurarsi — Sartoriale Italiano
- Guida alle taglie — Progetto Due
- How to measure yourself — Nathan Tailors
- Customtailors
These are offered as further study, not as a single prescribed method. Different ateliers refine their own conventions, and the fundamentals covered here will serve you regardless of which tailor ultimately cuts your garment.
FAQ
Quali misure servono per un abito su misura?
Un abito completo richiede almeno nove misure fondamentali: collo, spalle, torace, vita, fianchi, lunghezza manica, bicipite, cavallo o coscia e lunghezza schiena, come indicato dalle guide sartoriali di riferimento.
How can I create a made-to-measure garment without visiting a tailor in person?
Take all nine core measurements twice using a fabric tape measure, photograph yourself from the front, back and three-quarter angle, then send both the figures and images to an atelier such as Jeeyodee for pattern development.
Come prende le misure un sarto professionista?
Un sarto misura con il metro perfettamente in piano, senza stringere, chiedendo al cliente di respirare normalmente e mantenere una postura naturale, ripetendo ogni misura almeno due volte per garantire coerenza.
How many centimetres separate each clothing size?
Standard sizing charts vary by brand and garment type, so there is no single universal centimetre gap between sizes; a made-to-measure garment avoids this uncertainty entirely by building the pattern from your own figures rather than a size chart.
What happens if I measure incorrectly for a bespoke commission?
An atelier will typically flag inconsistent figures during the fitting stage and adjust the pattern accordingly, which is why Jeeyodee's bespoke process includes a dialogue about posture and preference alongside the raw measurements.